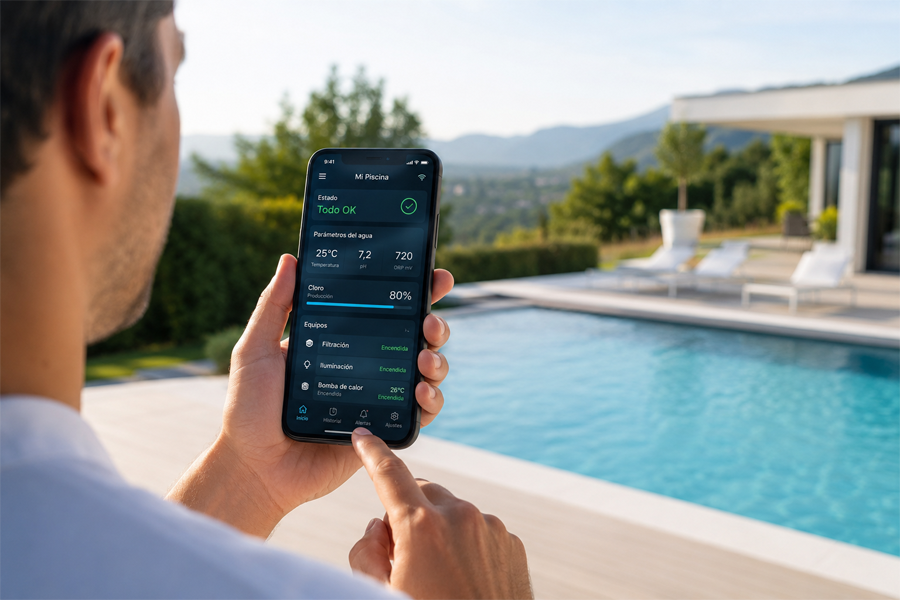
How do you install a salt chlorinator?
Having a pool requires certain care to ensure it’s safe for swimmers. With salt chlorination, the water is properly disinfected thanks to electrolysis, a process that takes place inside the chlorinator. Below, we’ll explain how to install a salt chlorinator in your pool.
Before starting the installation of the salt chlorinator, the pool water must be clean. You need to know your pool’s water volume in advance, as this determines how much salt must be added. Once the volume is known, add between 5 and 6 kg of salt per m3 of water. Wait until all the salt is completely dissolved.

Step 1: Plumbing, pipe installation
We install the chlorinator without the cell on the return line to the pool. You need to clean the pipe with a special cleaner and glue it. Remember to do this with the cell removed to prevent it from accidentally sticking to the housing.
If removable fittings are used, installation will be easier. After gluing all the plumbing parts, tighten the removable fittings. You should always leave a section before and after the cell to install the pH regulator.
The pH probe will be installed before the cell, and the acid injection after it.
Once the glue has dried, we can install the cell with its threaded connection. Then we install the collars for the pH regulator’s probe and acid injection. As mentioned earlier, one should go on the outlet side and one before the chlorinator. We install our collar so that the probe goes in vertically and is always at the bottom of a siphon so it is always full of water, since if the probe dries out it will be damaged.
We will drill the hole in the pipe, which must always be smaller than the gasket diameter. This collar would be for measurement, and we would place another one after the cell for acid injection.
We install the corresponding fittings with Teflon to prevent water leaks, and install the acid injector after the cell and the probe holder before it. Insert the probe and connect it to the chlorinator.
With this, all the plumbing would be finished.
Step 2: Mounting the equipment
We have separate brackets to make installation easier. Mount the units on the wall and connect the acid tubes to the regulator.
Step 3: Acid tank
Place the filter in the tank and connect it to the pH pump.
Step 4: Electrical installation
In the electrical panel, connect the pH regulator and the chlorinator to the same contactor as the pump, but on separate lines.
This ensures everything turns on at the same time, but without voltage spikes that the motor could cause when switching it off.
Step 5: Calibration
- Go to the chlorinator menu.
- In item 6 you’ll find the pH settings, and within this menu look for item 4, which is pH calibration.
- Take the pH 4 solution and immerse the probe.
- Wait until the calibration stabilizes.
- Rinse the tip of the probe with water to prevent contaminating the calibration solutions. In item 4, look for pH 7 calibration.
- Place the probe in the pH 7 solution and confirm on the chlorinator that the reading is 7.
Once these steps are completed, the salt chlorinator installation will be finished.
Our YouTube channel
On our YouTube channel we have an explanatory video that details step by step how to install a salt chlorinator.
Remember that at Innowater we have a wide range of chlorinators to suit your needs.

Salt chlorination for pools is a treatment system that generates pure chlorine from the salt dissolved in the water, through an electrolysis process. A sustainable, automated, and safe treatment for swimming.
Related News
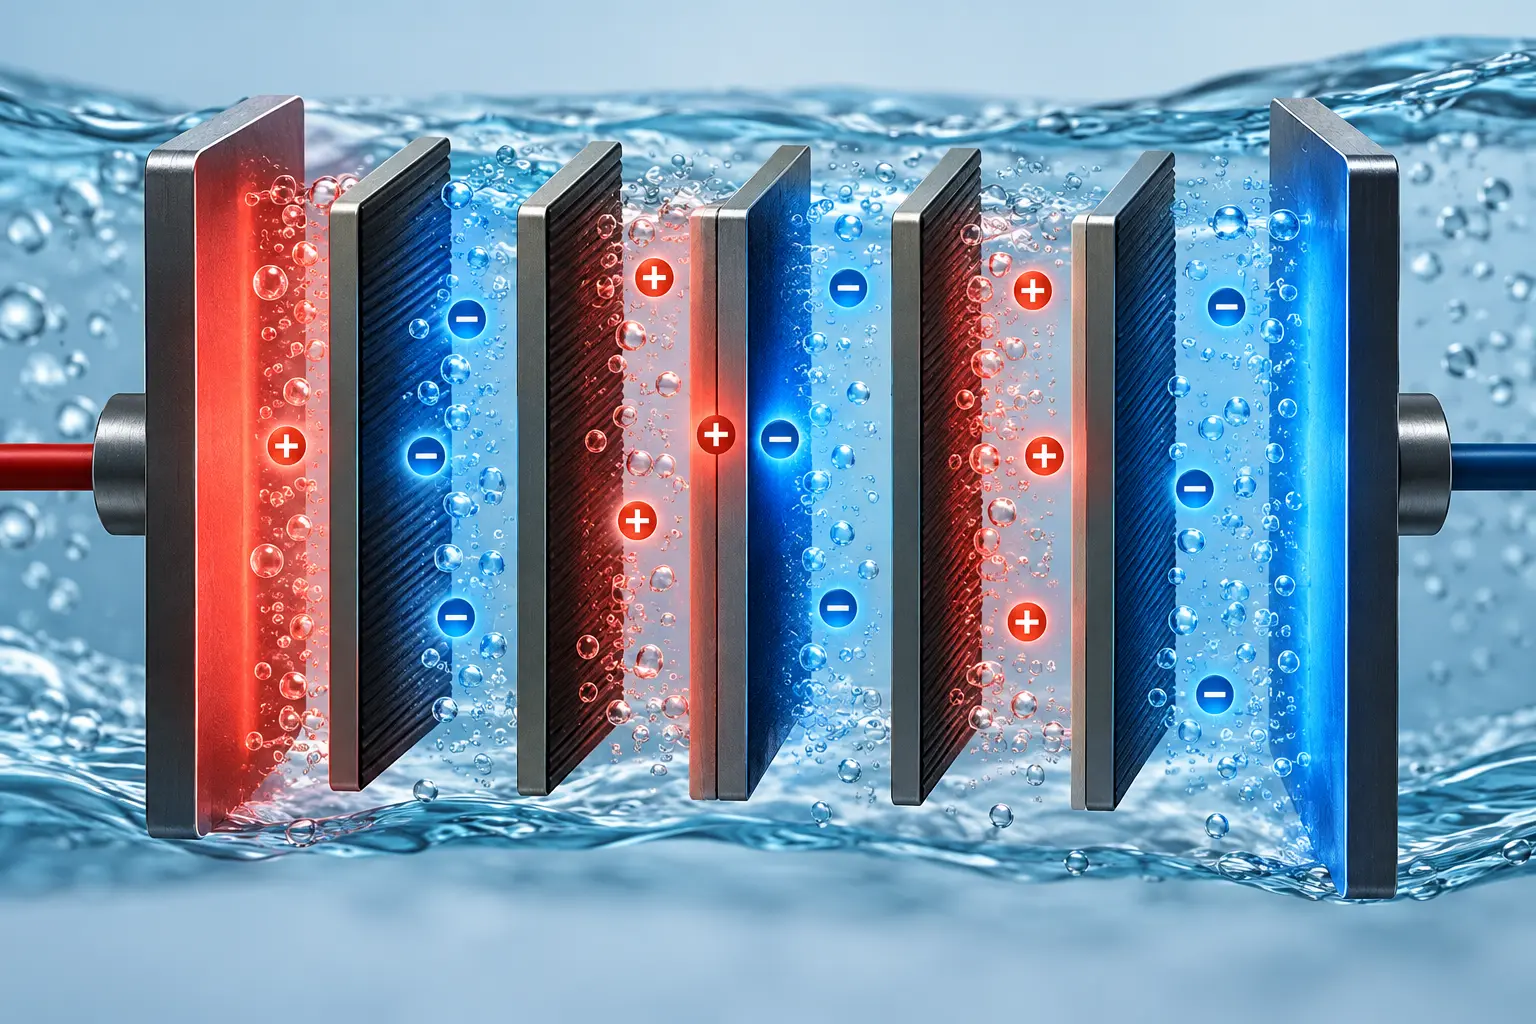
Bipolar cells, reverse polarity and programmable polarity in salt chlorination
Superchlorination or Boost Function in a Salt Chlorinator: What It Is, What It’s For, and When to Use It

Chloramines in Pools: What They Are, How They Form, and How to Eliminate Them
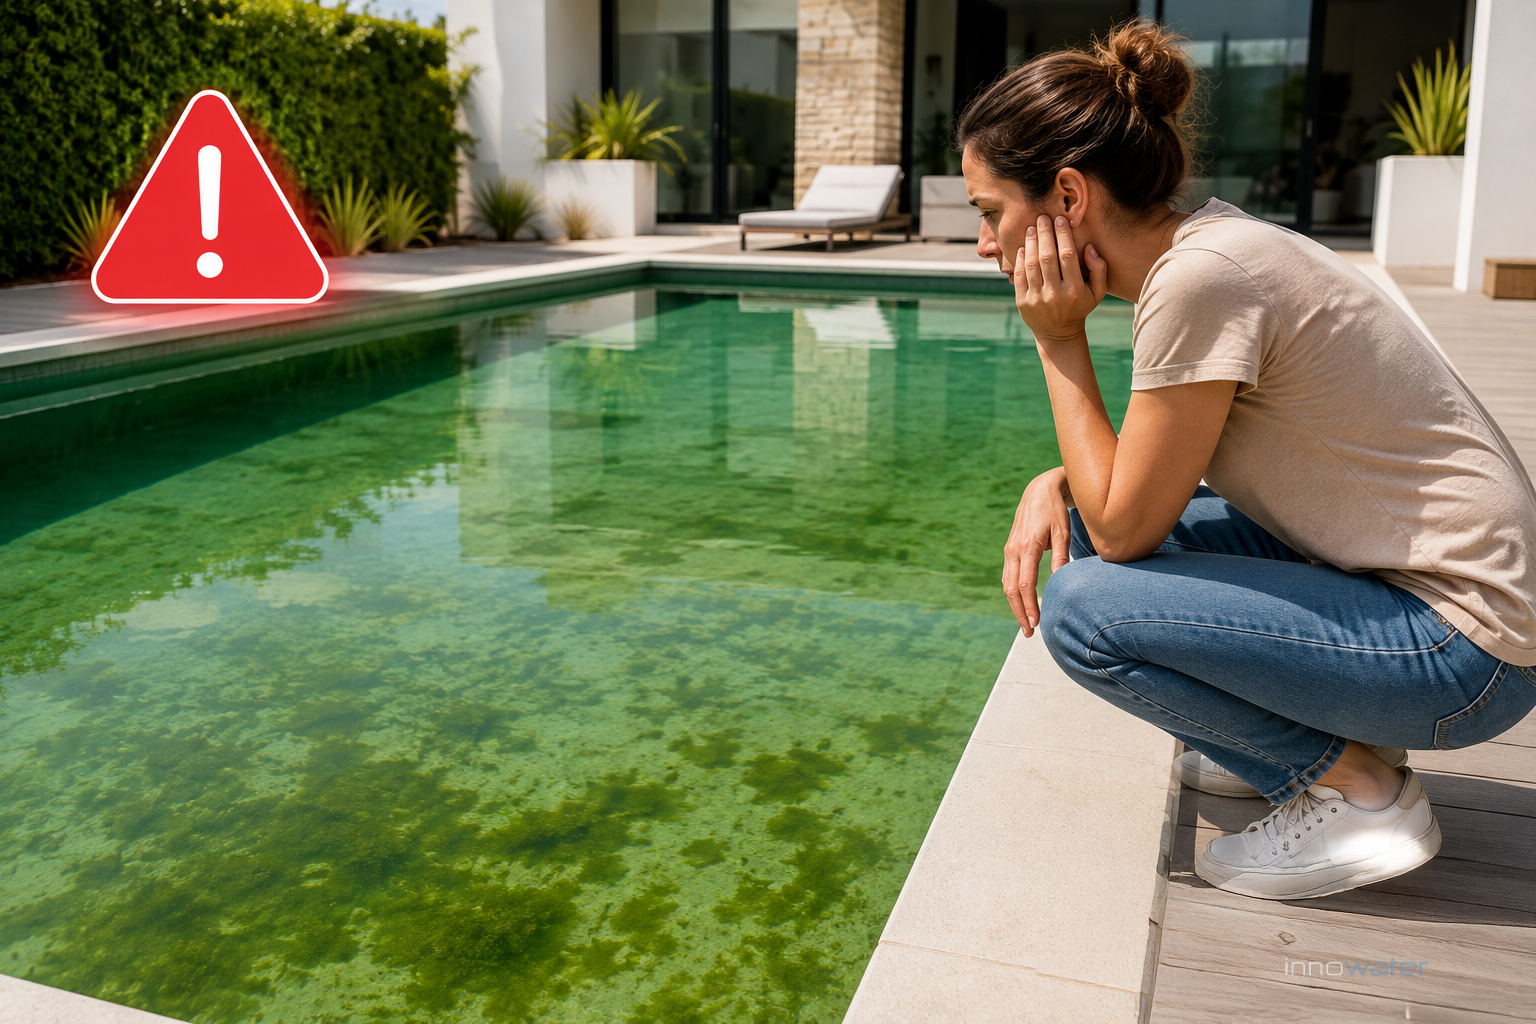
How to solve the 20 most frequent pool water problems
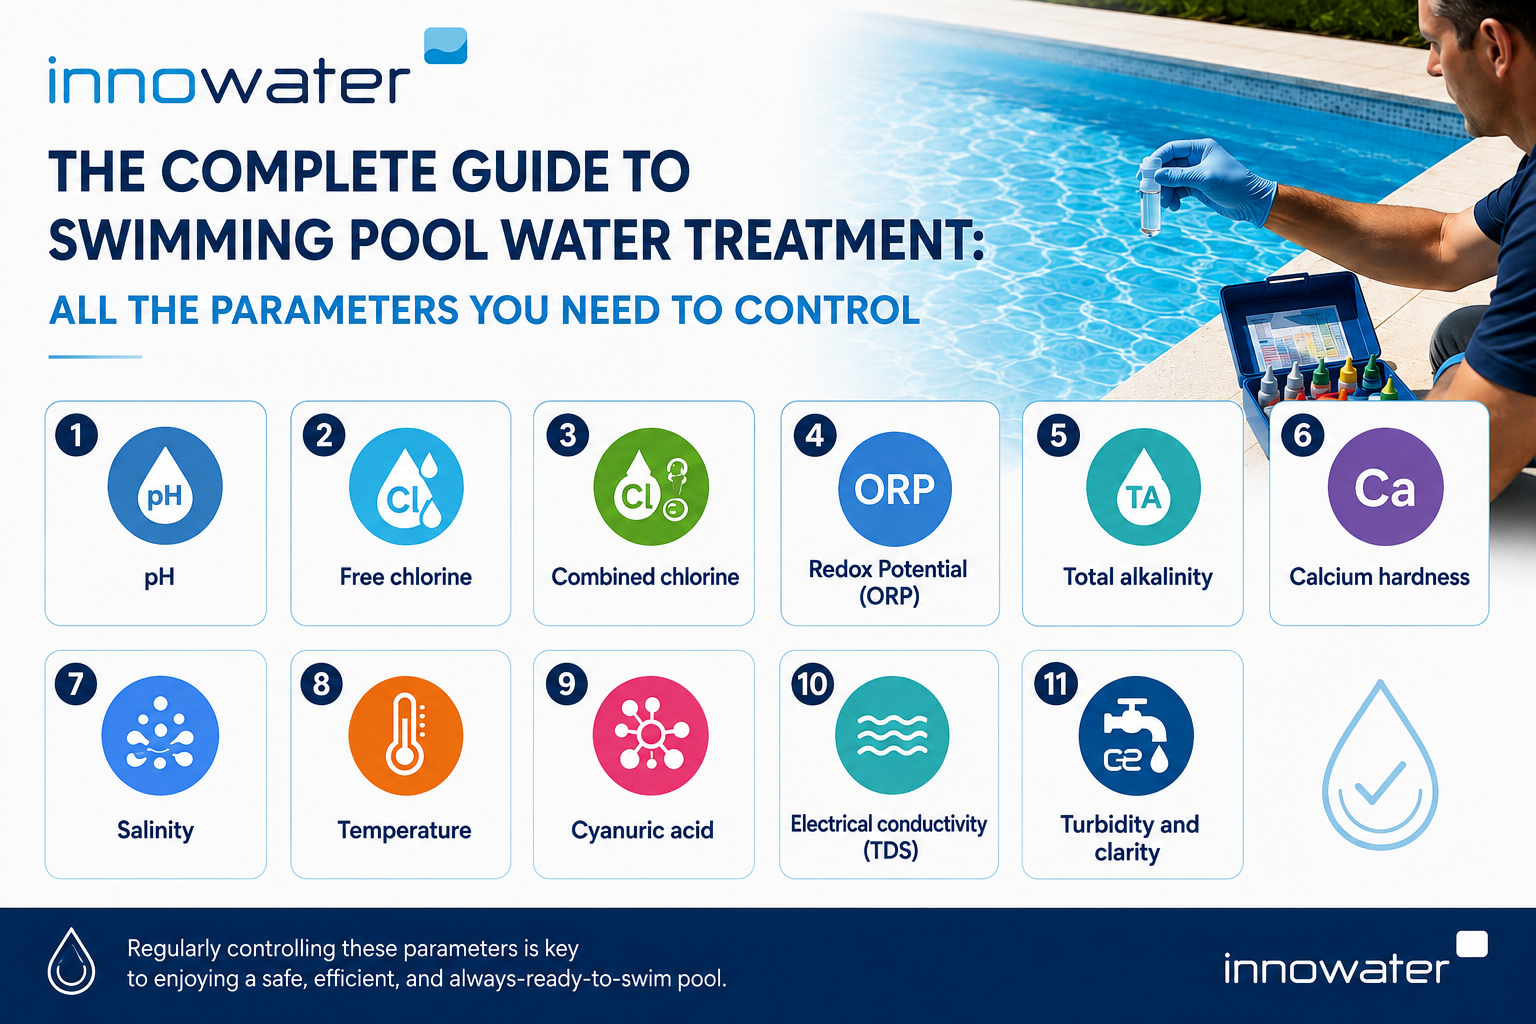
Complete guide to pool water treatment: all the parameters you need to control
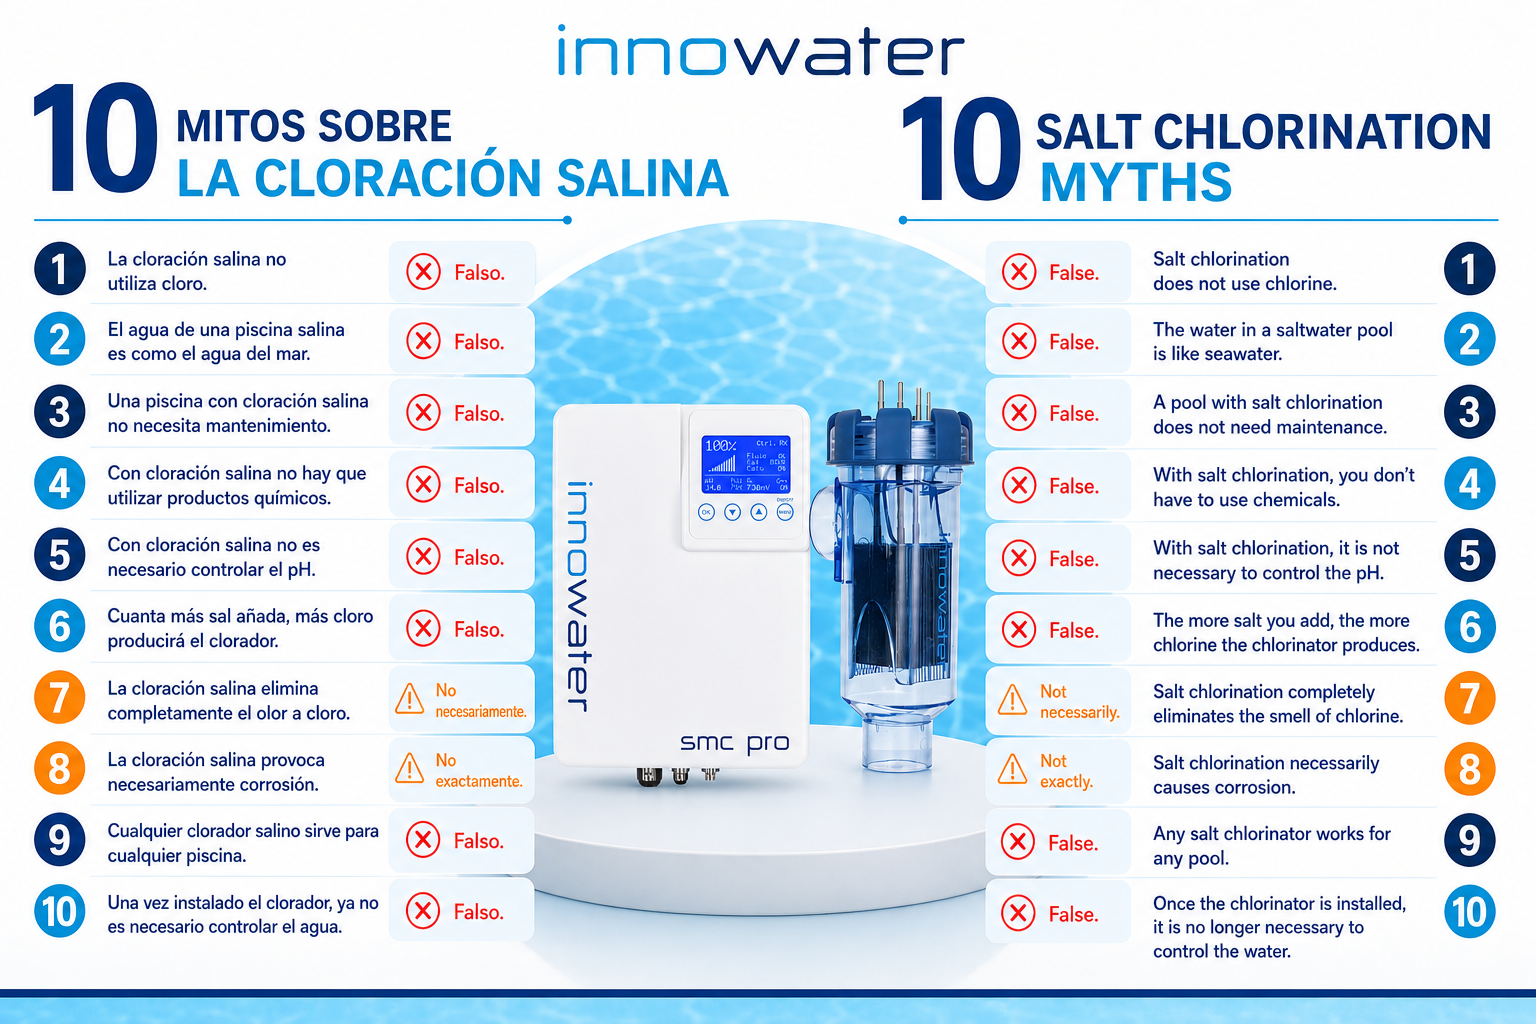
Myths about Salt Chlorination: 10 Misconceptions You Need to Know
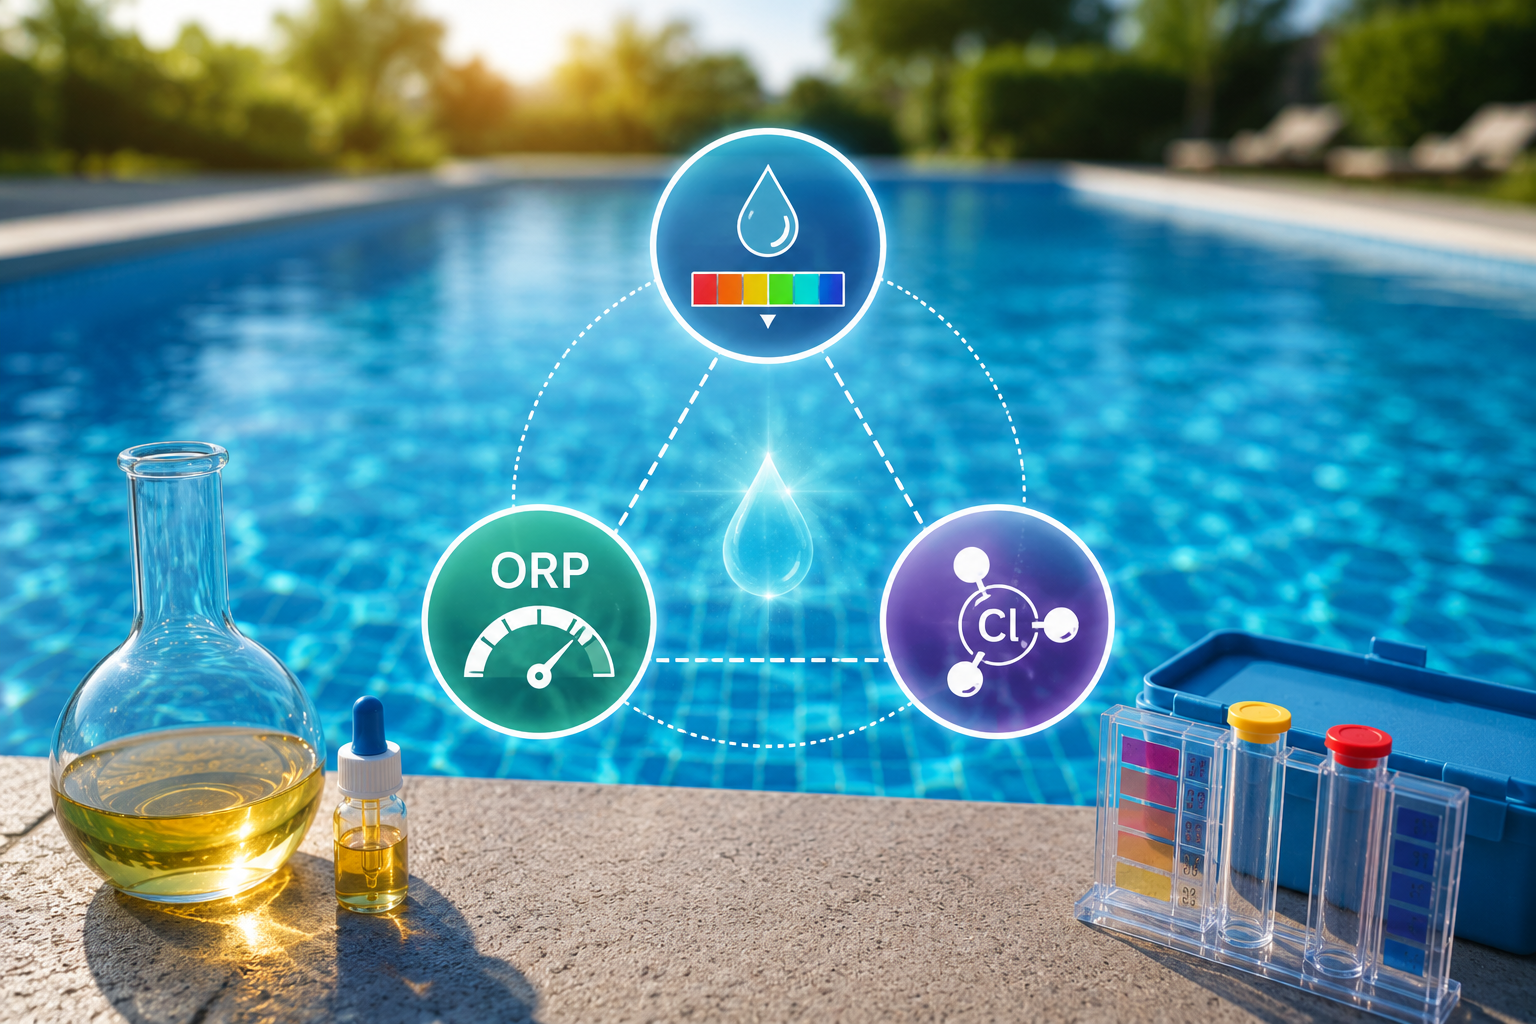
Relationship between pH, ORP, and free chlorine: The ultimate guide to achieving effective pool disinfection
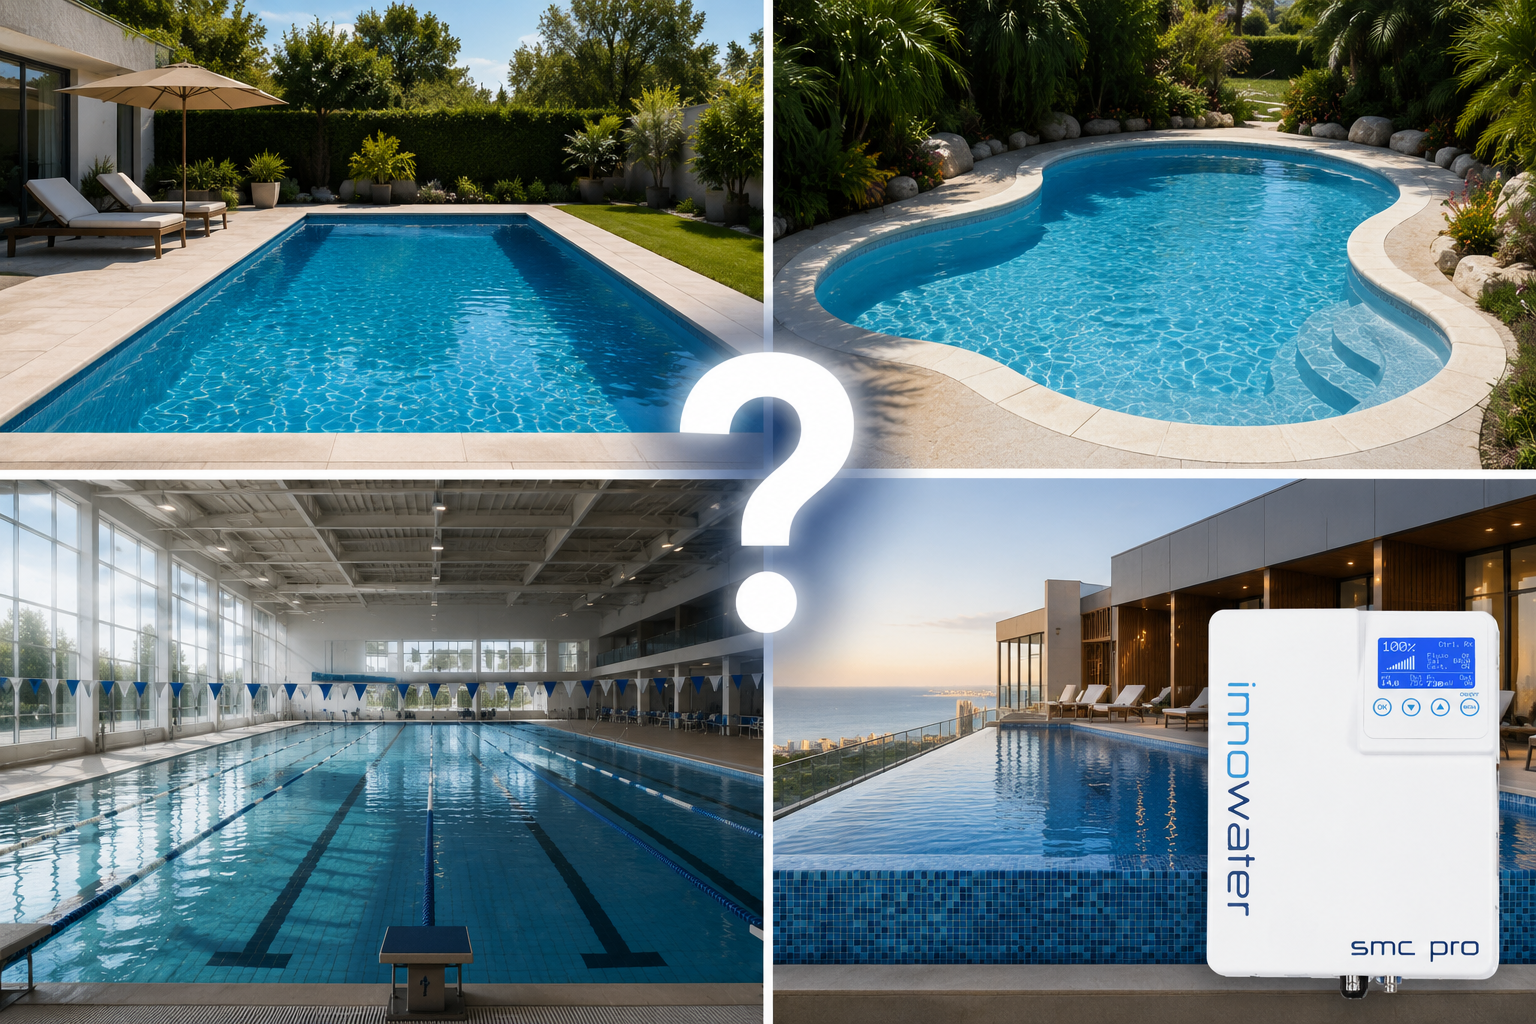
How to correctly size a salt chlorinator for your pool: the ultimate guide to choosing the right equipment

What is ORP and why is it the most important parameter to ensure effective disinfection in a swimming pool?